A lamp bulb drawing is a simple and creative way to learn how to draw everyday objects. Whether you are a beginner, student, art learner, teacher, or someone looking for an easy drawing idea, a lamp and light bulb can be created using basic shapes and simple lines.
You do not need advanced drawing skills to make a good light bulb drawing. With a pencil, eraser, paper, and a few basic techniques, you can create everything from a simple bulb outline to a detailed lamp illustration.
In this guide, you will learn how to draw a lamp bulb step by step, how to sketch a light bulb, how to add the bulb base, filament, shading, highlights, and other details, and how to create different styles of lamp bulb drawings.
What Is a Lamp Bulb Drawing?
A lamp bulb drawing is an illustration or sketch showing a light bulb, lamp, or a combination of both.
The drawing can be very simple or highly detailed depending on the artist’s skill level and purpose.
Common styles include:
- Simple light bulb drawing
- Realistic bulb sketch
- Cartoon light bulb
- Easy lamp drawing
- Pencil bulb drawing
- Colored bulb drawing
- Light bulb outline
- Vintage lamp illustration
- Desk lamp drawing
- Hanging lamp drawing
For beginners, starting with simple geometric shapes makes the drawing much easier.
What You Need for a Lamp Bulb Drawing
Before starting your lamp bulb sketch, gather a few basic supplies.
Basic Materials
You can use:
- Drawing paper
- Pencil
- Eraser
- Ruler
- Black pen
- Colored pencils
- Markers
- Crayons
- Sharpener
You do not need expensive art supplies for an easy light bulb drawing.
A regular HB pencil is enough for creating the initial outline.
Digital Drawing Tools
You can also create a lamp bulb drawing digitally using:
- Drawing tablets
- Stylus pens
- Illustration software
- Tablet drawing applications
- Digital painting programs
The same basic drawing principles apply whether you draw on paper or digitally.
How to Draw a Lamp Bulb Step by Step
The easiest way to draw a light bulb is to divide it into simple sections.
Step 1: Draw the Main Bulb Shape
Start by drawing the rounded glass portion of the bulb.
You can think of it as a combination of an oval and a slightly rounded pear shape.
Do not make the outline too dark at this stage.
The first shape is only a guide and can be corrected later.
Step 2: Add the Neck of the Bulb
After creating the rounded bulb, narrow the shape slightly at the bottom.
This creates the neck that connects the glass portion to the metal base.
Keep both sides reasonably symmetrical.
A light centerline can help you maintain symmetry while drawing.
Step 3: Draw the Bulb Base
Now add the metal screw base underneath the glass bulb.
Draw several curved horizontal lines to represent the threaded section.
These lines create the appearance of the familiar screw-type bulb base.
The base should be slightly narrower than the widest part of the bulb.
Step 4: Draw the Filament
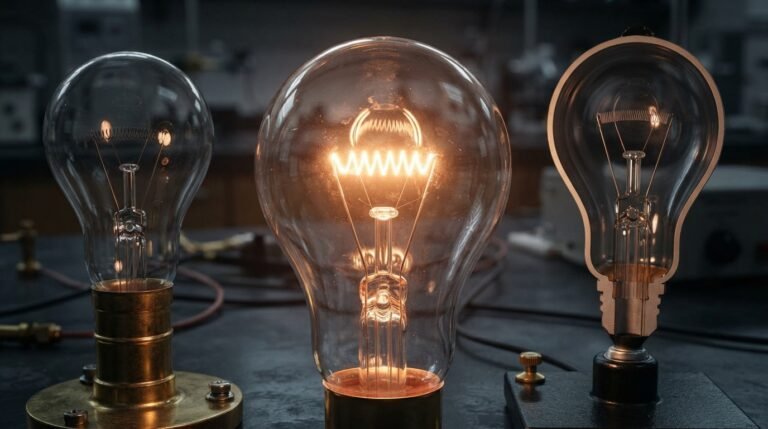
The filament is one of the most recognizable details in a traditional light bulb drawing.
Inside the glass section, draw two thin support wires and a small zigzag or curved filament between them.
You do not need to make the filament extremely complicated.
A simple shape can make the bulb immediately recognizable.
Step 5: Add the Contact Point
At the bottom of the metal base, add the small electrical contact point.
This completes the basic structure of the bulb.
At this point, you should have a recognizable light bulb sketch.
Step 6: Refine the Outline
Look at the entire drawing and correct the shape.
Erase unnecessary construction lines and adjust:
- Bulb symmetry
- Neck width
- Base proportions
- Filament position
- Outline curves
Use a darker pencil or black pen to create the final outline.
Step 7: Add Shading
Shading can make a simple lamp bulb drawing look much more realistic.
Choose a light source direction and make one side slightly darker.
You can add:
- Soft shadows
- Reflected light
- Darker base areas
- Glass shading
- Small highlights
Avoid making the entire bulb equally dark.
Step 8: Add the Glow Effect
If you are drawing an illuminated bulb, you can create a glow around it.
A simple way is to lightly shade an area surrounding the bulb.
Keep the center near the filament brighter and gradually make the surrounding area lighter.
This creates the impression that the bulb is producing light.
Easy Lamp Bulb Drawing for Beginners
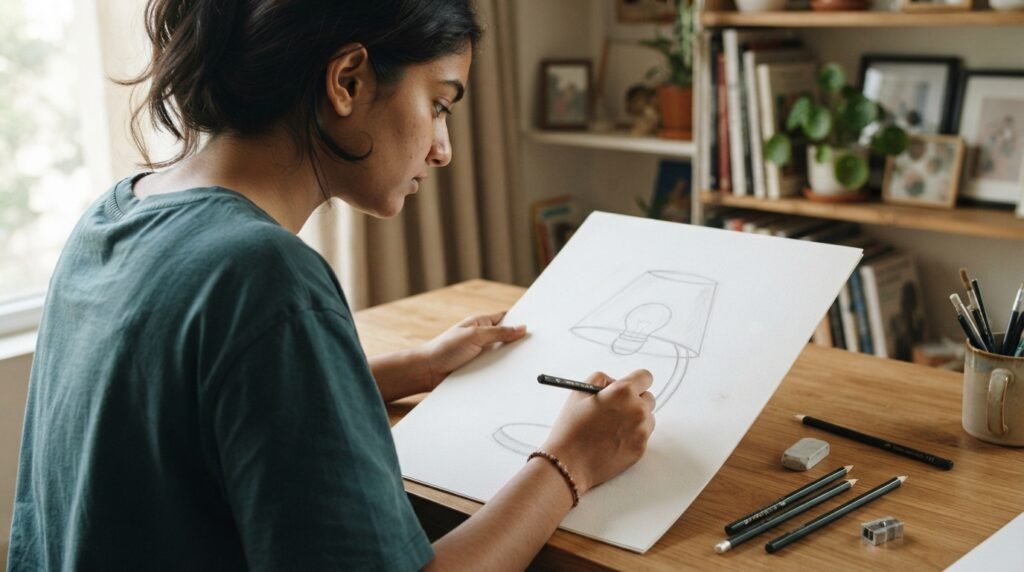
If you are a beginner, you can simplify the process even further.
Start with:
- A large rounded shape.
- A narrow neck.
- A rectangular or cylindrical base.
- Several horizontal base lines.
- A simple filament.
- A small contact point.
- Basic shading.
This method creates an easy lamp bulb drawing without requiring detailed artistic skills.
Simple Light Bulb Drawing Outline
A simple outline is often the best starting point for children and beginners.
The outline should contain only the most important parts:
- Glass bulb
- Neck
- Metal base
- Filament
- Contact point
Avoid adding too many details until the basic proportions are correct.
Once the outline looks right, you can add color or shading.
How to Draw a Realistic Light Bulb
Creating a realistic light bulb drawing requires more attention to shape, reflections, transparency, and shading.
Focus on Glass
Real glass is not completely flat or uniformly shaded.
Use subtle lines and shadows to show the curved surface.
Avoid drawing heavy outlines everywhere if you want a realistic appearance.
Add Reflections
A glass bulb usually has bright reflected areas.
You can represent these with:
- White highlights
- Light curved lines
- Small bright shapes
Leave some areas of the paper completely white to create a reflective appearance.
Draw the Metal Base
The metal base should have darker and lighter areas.
Use curved horizontal lines to represent the threads.
Adding a gradual shadow can make the base look cylindrical.
Make the Filament Detailed
A traditional bulb can contain several small internal components.
For a drawing, you can simplify these components while keeping the filament clearly visible.
Lamp Drawing vs Light Bulb Drawing
Although the terms are sometimes used together, a lamp and a bulb are different objects.
| Drawing Type | Main Subject | Common Style |
|---|---|---|
| Light bulb drawing | Bulb | Simple or realistic |
| Lamp drawing | Complete lamp | Decorative or realistic |
| Lamp bulb drawing | Lamp and bulb | Combined illustration |
| Bulb sketch | Bulb outline | Pencil drawing |
| Desk lamp drawing | Desk lamp | Perspective drawing |
| Hanging lamp drawing | Ceiling lamp | Interior illustration |
If your goal is to draw the light-producing component, focus on the bulb.
If you want to draw an entire lighting fixture, include the lamp body, shade, stand, socket, and bulb.
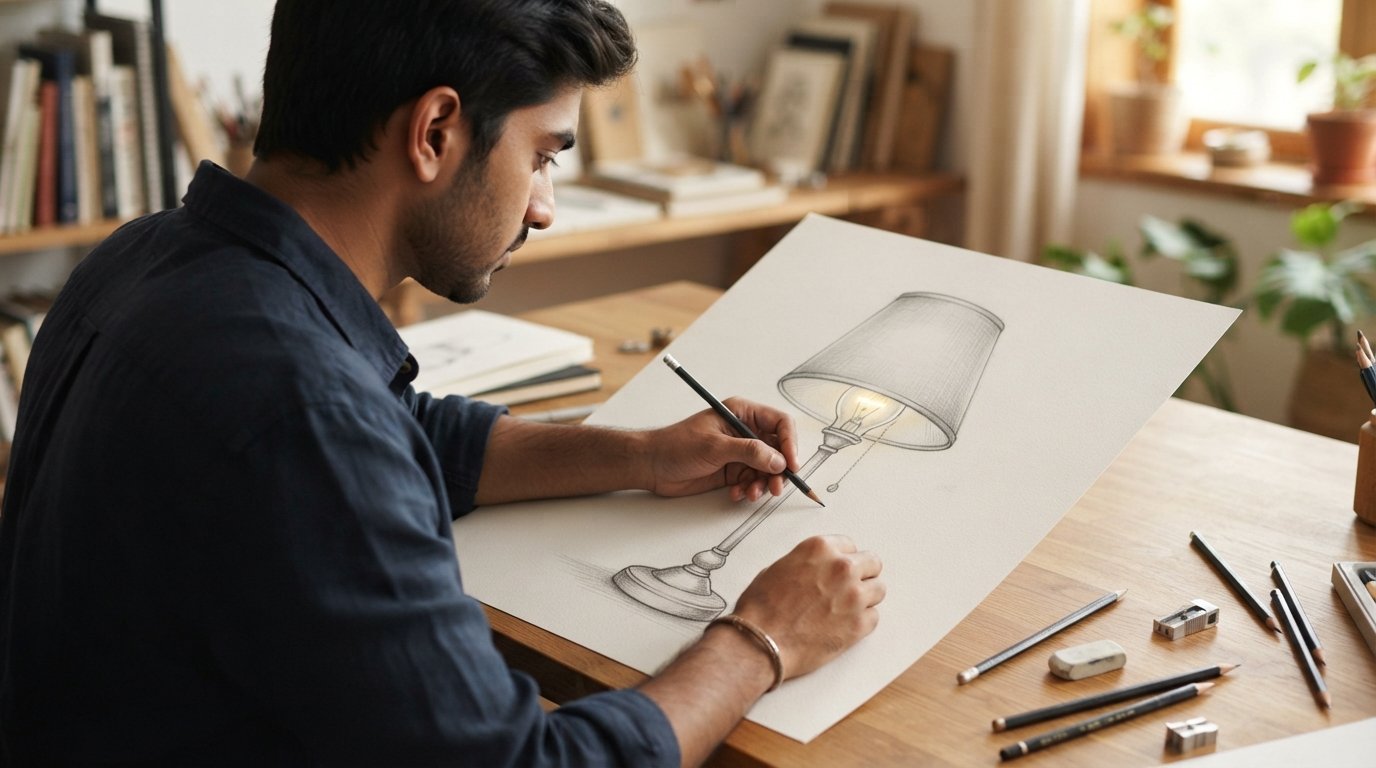
How to Draw a Lamp With a Bulb
A complete lamp drawing with a bulb can be created by combining several simple shapes.
Step 1: Draw the Lampshade
Start with a trapezoid or curved cone shape.
This represents the lampshade.
Step 2: Add the Bulb
Place the bulb underneath or inside the shade depending on the lamp design.
The bulb can be represented using the basic bulb shape described earlier.
Step 3: Draw the Lamp Stand
Add a vertical or curved support beneath the lampshade.
Step 4: Add the Base
Create a stable base at the bottom of the lamp.
Step 5: Add Details
You can add:
- Switch
- Power cord
- Socket
- Lampshade texture
- Shadows
- Decorative elements
This creates a complete lamp bulb sketch.
How to Draw a Glowing Light Bulb
A glowing bulb is a popular drawing idea because it combines a recognizable object with a visual lighting effect.
Start with a normal bulb outline.
Then:
- Draw the filament.
- Make the filament darker.
- Add a bright center.
- Lightly shade around the bulb.
- Create a soft outer glow.
- Add highlights to the glass.
- Darken the metal base.
For colored artwork, warm shades can be used to represent the appearance of a glowing incandescent bulb.
Pencil Lamp Bulb Drawing
A pencil lamp bulb drawing can look attractive even without color.
The most important techniques are:
Light Construction Lines
Use a light pencil for the first outline.
Dark Final Lines
Once the proportions are correct, strengthen the important edges.
Cross-Hatching
Small intersecting lines can create darker areas.
Blending
Softly blended graphite can represent shadows on curved glass and metal.
Erasing for Highlights
Instead of drawing every highlight, use an eraser to remove graphite from selected areas.
This technique can create realistic reflections.
Colored Lamp Bulb Drawing
Adding color can turn a simple sketch into a more attractive illustration.
You can color different parts separately.
Glass
Use very light shading because glass is transparent.
Filament
Use a darker color to make the filament stand out.
Metal Base
Gray or silver tones can represent the metal base.
Light Glow
A warm yellow or orange glow can be used when illustrating an illuminated bulb.
The colors do not need to be perfectly realistic if the goal is a creative or educational drawing.
Cartoon Light Bulb Drawing
A cartoon light bulb drawing is easier because you can exaggerate the shape.
For example, you can:
- Make the bulb larger.
- Make the base smaller.
- Add a smiling face.
- Add expressive eyes.
- Draw exaggerated rays of light.
- Use bright colors.
- Add arms or legs.
Cartoon bulbs are commonly used in illustrations about:
- Ideas
- Creativity
- Innovation
- Education
- Problem-solving
- Invention
Light Bulb Drawing With Rays
Another simple drawing idea is a bulb surrounded by light rays.
After drawing the bulb, add short lines around the outside.
These rays can be:
- Straight
- Curved
- Long
- Short
- Symmetrical
- Irregular
For an educational illustration, evenly spaced rays create a clean appearance.
Vintage Lamp Bulb Drawing
A vintage lamp bulb drawing can include an old-fashioned filament bulb with a traditional screw base.
You can emphasize:
- Visible filament
- Rounded glass
- Antique appearance
- Dark metal base
- Warm glow
- Decorative lighting elements
Using pencil shading or sepia-style coloring can create a vintage illustration effect.
Common Mistakes When Drawing a Light Bulb
Beginners often make a few simple mistakes.
Making the Bulb Asymmetrical
If one side is much wider than the other, the bulb may look distorted.
Use a centerline as a guide.
Making the Base Too Large
The metal base should normally remain proportionate to the glass portion.
Drawing the Filament Too Large
The filament should remain inside the glass section.
Using Heavy Lines Everywhere
Different line weights can make the drawing more natural.
Ignoring Perspective
If you draw a lamp from an angle, the circular parts should change according to perspective.
Tips for a Better Lamp Bulb Sketch
Follow these tips to improve your artwork:
- Start with simple shapes.
- Use light construction lines.
- Keep the bulb symmetrical.
- Study real bulbs for reference.
- Add details gradually.
- Use shadows to show depth.
- Leave highlights on glass.
- Practice different bulb shapes.
- Try both pencil and color.
- Do not worry about perfection on the first attempt.
Different Lamp Bulb Drawing Ideas
Once you understand the basic structure, you can experiment with different concepts.
Idea 1: Simple Bulb
Draw only the bulb, filament, and base.
Idea 2: Glowing Bulb
Add a bright glow around the bulb.
Idea 3: Idea Bulb
Draw a light bulb with rays representing a new idea.
Idea 4: Desk Lamp
Draw a complete lamp sitting on a desk.
Idea 5: Hanging Bulb
Draw a bulb suspended from a ceiling cable.
Idea 6: Vintage Bulb
Create an old-style bulb with a visible filament.
Idea 7: Cartoon Bulb
Add facial expressions and exaggerated features.
Idea 8: Realistic Bulb
Focus on glass reflections, metal texture, shadows, and accurate proportions.
Lamp Bulb Drawing for Kids
A simple bulb drawing can be a useful activity for children because it can be created using basic shapes.
A teacher or parent can break the drawing into:
- Circle or oval
- Curved sides
- Small rectangle
- Horizontal lines
- Simple filament
Children can then add colors to make their own unique light bulb illustration.
The activity can also be connected to lessons about electricity, light, energy, and household appliances.
Light Bulb Drawing for School Projects
A light bulb drawing can be useful for school projects involving:
- Electricity
- Energy
- Science
- Inventions
- Renewable energy
- Electrical circuits
- Light sources
- Energy efficiency
Students can create a simple illustration and label the major components, such as:
- Glass envelope
- Filament
- Support wires
- Base
- Electrical contacts
A labeled diagram can make a science project easier to understand.
How to Improve Your Lamp Bulb Drawing Skills
Improvement comes mainly through practice.
Try drawing the same bulb several times.
During each attempt, focus on one specific improvement:
Drawing 1: Shape
Drawing 2: Proportion
Drawing 3: Filament
Drawing 4: Shading
Drawing 5: Glass reflections
Drawing 6: Complete realistic illustration
You can also practice drawing the bulb from different angles.
Frequently Asked Questions About Lamp Bulb Drawing
1. How do you draw a lamp bulb easily?
Start with a rounded bulb shape, add a narrow neck, draw the screw base, and then add the filament. Once the basic outline is complete, erase unnecessary construction lines and add shading.
2. What is the easiest light bulb drawing for beginners?
A simple outline containing the glass bulb, metal base, and filament is one of the easiest versions for beginners.
3. How do you draw a realistic light bulb?
Focus on accurate proportions, glass reflections, subtle shadows, the metal screw base, and the internal filament. Use light construction lines before adding darker details.
4. How do you draw a glowing bulb?
Draw the bulb normally, make the filament bright or prominent, and add gradually lighter shading around the outside of the bulb to represent the glow.
5. Can children draw a lamp bulb?
Yes. A lamp bulb can be simplified into basic shapes, making it suitable for beginner and children’s drawing activities.
6. How do you draw a bulb with a filament?
Draw two thin support wires inside the glass section and connect them with a small curved or zigzag filament.
7. What materials are needed for a bulb drawing?
Basic materials include paper, pencil, eraser, and sharpener. Colored pencils, markers, or crayons can be added if you want a colored illustration.
8. Can I draw a light bulb digitally?
Yes. The same basic shapes can be created using digital drawing applications, graphic-design software, or a drawing tablet.
9. How can I make a bulb drawing look realistic?
Use accurate proportions, subtle shading, reflections on the glass, darker areas on the metal base, and carefully placed highlights.
10. What should I draw around a light bulb to show that it is glowing?
You can add short rays or a soft halo around the bulb. Gradual shading can make the glow look more natural.
Final Thoughts
A lamp bulb drawing does not have to be complicated. By breaking the subject into simple shapes, you can create an easy light bulb sketch and gradually add more detail as your drawing skills improve.
Start with the bulb outline, add the neck and screw base, draw the filament, and then work on shading and highlights. Once you are comfortable with the basic design, experiment with realistic bulbs, glowing light bulbs, cartoon illustrations, desk lamps, vintage bulbs, and complete lamp drawings. Whether you need a simple light bulb drawing for kids, a pencil bulb sketch, a school-project illustration, or a realistic lamp bulb drawing, practicing the basic structure will give you a strong starting point.
Related Post
- Light Bulb Guide Size – Complete Guide to Bulb Sizes, Shapes, Bases & Codes!
- Light Bulb Light In Car – Complete Guide to Car Interior Lights, Warning Bulbs, Headlights, and Replacement!
- Mr16 Bulb – Complete Guide to MR16 Light Bulbs, Sizes, Watts, Voltage, Lumens, and Uses!
About the Author