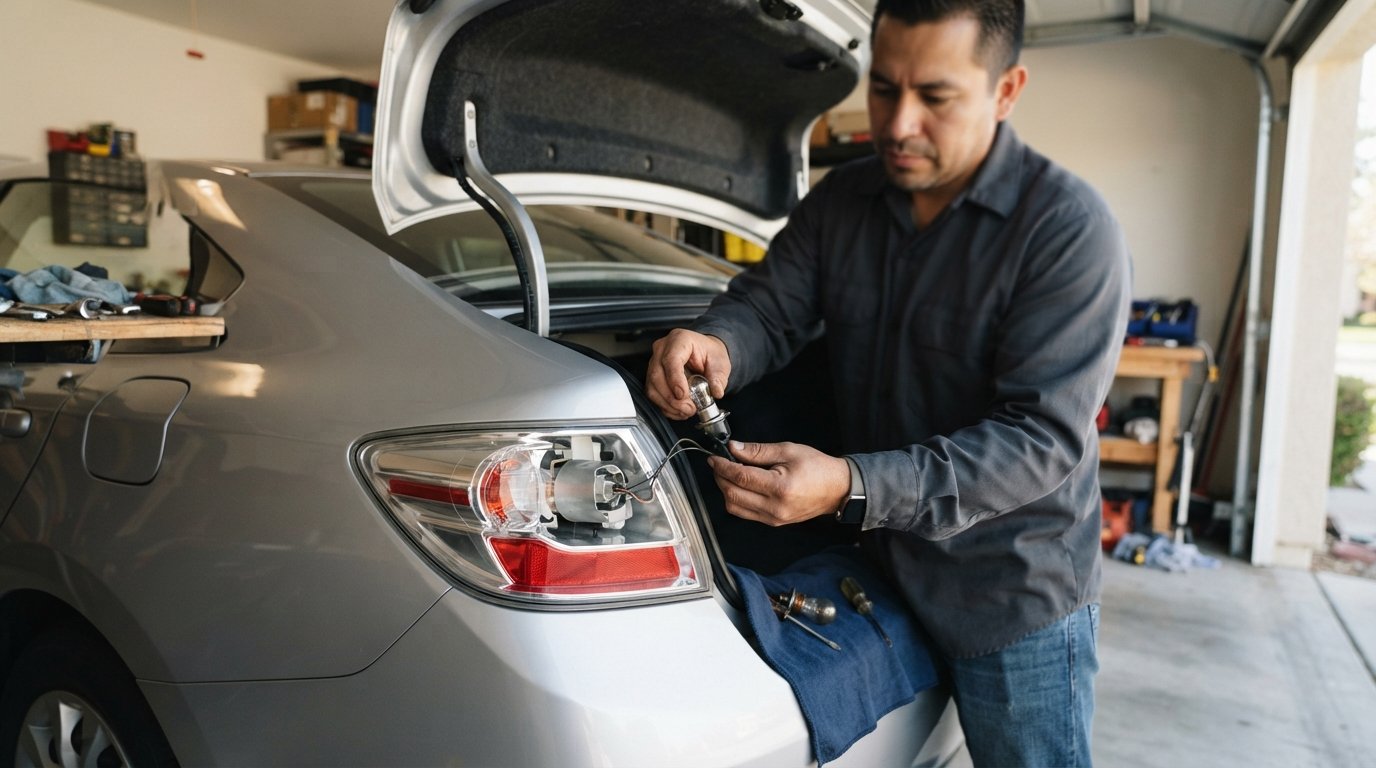
A brake light bulb replacement is one of the simplest vehicle maintenance tasks, but it is also an important safety repair. Brake lights alert drivers behind you when you slow down or stop, so a burned-out bulb should be replaced as soon as possible.
If one of your brake lights is not working, the problem may be a burned-out bulb, damaged socket, blown fuse, wiring issue, or another electrical problem. Fortunately, many vehicles allow owners to replace a brake light bulb without visiting a repair shop.
This guide explains how to replace a brake light bulb, how to identify the correct bulb, what tools you may need, common problems, replacement costs, and how to make sure the new brake light works properly.
What Is a Brake Light Bulb?
A brake light bulb is the light source inside a vehicle’s rear brake-light assembly. When you press the brake pedal, the brake lights illuminate to warn following drivers that your vehicle is slowing down or stopping.
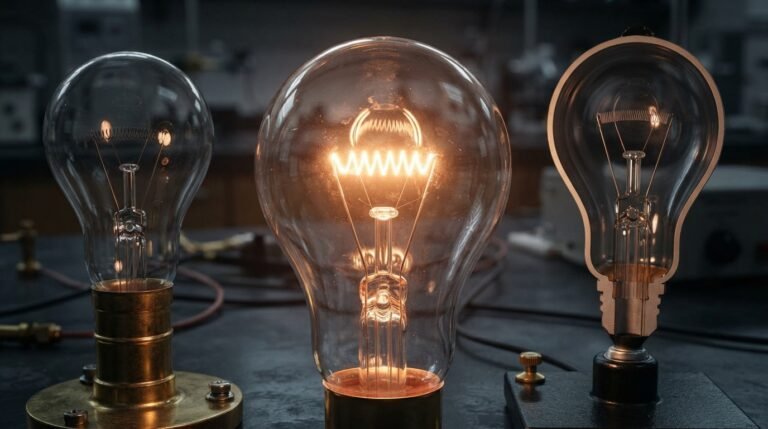
Depending on the vehicle, the brake light may use:
- A traditional incandescent bulb
- A halogen-style automotive bulb
- An LED bulb
- A combined brake and tail light bulb
- A separate brake-light bulb
Modern vehicles increasingly use LED lighting, while many older vehicles use replaceable incandescent bulbs.
How Do You Know If a Brake Light Bulb Is Burned Out?
The easiest way to identify a bad brake light bulb is to check the rear lights while pressing the brake pedal.
Common signs include:
- One brake light does not illuminate.
- Both brake lights are not working.
- The brake light appears dim.
- The bulb flickers.
- The bulb has a visibly broken filament.
- The dashboard displays a lighting warning.
- Another driver tells you that a brake light is out.
If only one side is not working, a burned-out bulb is a common possibility. If both sides stop working simultaneously, the problem could instead involve a fuse, brake-light switch, wiring, or another electrical component.
What Bulb Do I Need for Brake Light Replacement?
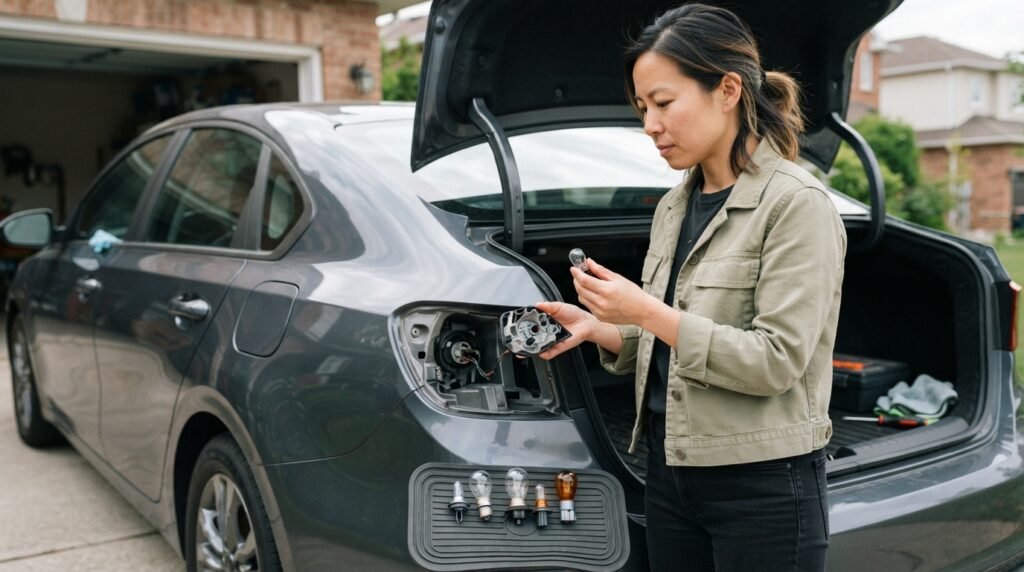
The correct brake light bulb replacement depends on your vehicle’s year, make, model, trim, and lighting system.
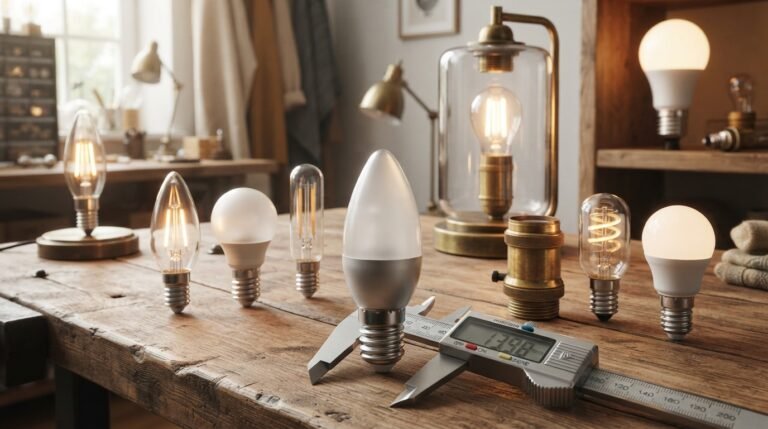
Do not choose a bulb based only on appearance. Two bulbs can look similar while having different bases, wattages, or electrical specifications.
You can identify the correct bulb by checking:
- The vehicle owner’s manual.
- The existing bulb.
- The bulb number printed on the old bulb.
- A reliable automotive parts catalog.
- Your vehicle manufacturer’s specifications.
Common automotive bulb numbers vary widely, so it is important to verify compatibility before purchasing a replacement.
How to Replace a Brake Light Bulb
The exact procedure varies between vehicles, but the general process is straightforward.
Step 1: Park the Vehicle Safely
Park on a level surface, turn the engine off, engage the parking brake, and remove the key if applicable.
Make sure the vehicle is secure before working around the rear light assembly.
Step 2: Locate the Brake Light Assembly
Find the rear light housing containing the brake light.
Depending on the vehicle, you may access the bulb from inside the trunk, cargo area, or rear hatch.
Some vehicles require removal of screws or clips before the light assembly can be accessed.
Step 3: Remove the Bulb Socket
Once you can access the rear of the light assembly, locate the bulb socket.
Depending on the design, the socket may twist out, pull out, or be secured with clips.
Avoid forcing it if it does not move easily.
Step 4: Remove the Old Bulb
If the bulb is a traditional replaceable type, carefully remove it from the socket.
Some bulbs pull straight out, while others require a slight push and twist.
If the bulb is stuck, avoid excessive force that could damage the socket.
Step 5: Install the New Brake Light Bulb
Install the replacement bulb using the same orientation as the old bulb.
If the bulb has alignment pins, make sure they match the corresponding slots in the socket.
For some incandescent bulbs, avoid touching the glass with bare fingers. Oils from your skin can contaminate the glass and potentially shorten bulb life.
Step 6: Reinstall the Socket
Place the bulb socket back into the light assembly and secure it properly.
Make sure it is seated firmly to help prevent moisture from entering the housing.
Step 7: Test the Brake Lights
Have another person press the brake pedal while you inspect the rear lights.
Check that:
- The new brake light illuminates.
- The other brake light still works.
- The light is bright and consistent.
- There is no flickering.
- The housing is properly secured.
Testing the light before finishing the job helps prevent discovering a problem later.
How Long Does Brake Light Bulb Replacement Take?
For many vehicles, replacing a standard brake light bulb can take approximately 10 to 30 minutes.
The actual time depends on the vehicle’s design.
Some vehicles provide easy access through the trunk or rear hatch, while others require removal of additional trim or the complete tail-light assembly.
LED assemblies can require more extensive work if the LED is integrated into the light housing rather than being a replaceable bulb.
How Much Does Brake Light Bulb Replacement Cost?
The cost of a brake light bulb replacement depends on whether you do the work yourself or pay a professional.
DIY Replacement
If you replace a conventional bulb yourself, the cost is generally limited to the replacement bulb and any necessary tools.
Professional Replacement
A repair shop may charge for:
- The replacement bulb
- Labor
- Diagnostic work if the problem is not the bulb
- Removal of difficult-to-access trim or light assemblies
LED tail-light assemblies can be significantly more expensive than a standard replaceable bulb if the entire assembly needs to be replaced.
Can You Replace a Brake Light Bulb Yourself?
Yes, many conventional brake light bulbs can be replaced at home with basic tools.
A DIY replacement is generally easiest when:
- The bulb is easily accessible.
- The vehicle uses a replaceable bulb.
- You can identify the correct bulb.
- No specialized equipment is required.
However, if the vehicle uses an integrated LED assembly or the light housing is difficult to access, professional service may be more appropriate.
Why Is My New Brake Light Bulb Not Working?
If you install a new bulb and it still does not illuminate, do not immediately assume the replacement bulb is defective.
Check the following:
Incorrect Bulb
Verify that the replacement bulb has the correct number, base, and specifications.
Poor Connection
The bulb may not be seated correctly in the socket.
Corroded Socket
Moisture can cause corrosion inside the socket and interfere with electrical contact.
Blown Fuse
A blown fuse can prevent one or more brake lights from working.
Brake-Light Switch
The switch activated by the brake pedal may be faulty.
Wiring Problem
Damaged or disconnected wiring can interrupt power to the light.
Faulty LED Assembly
If your vehicle uses an integrated LED tail-light assembly, the problem may require replacement of the assembly or professional electrical diagnosis.
Why Are Both Brake Lights Not Working?
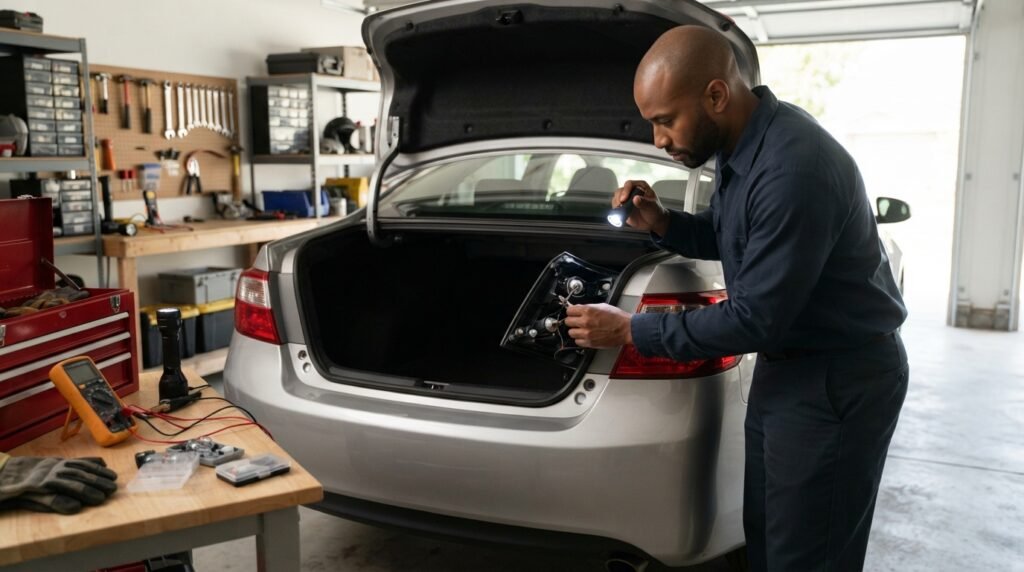
When both brake lights stop working at the same time, the problem may be more than a burned-out bulb.
Possible causes include:
- Blown fuse
- Faulty brake-light switch
- Electrical wiring problem
- Ground connection problem
- Control module issue
- Multiple failed bulbs
- LED assembly failure
If the third brake light works but the two rear brake lights do not, this can provide useful information during diagnosis.
If none of the brake lights work, the brake-light switch or fuse should also be considered.
Brake Light Bulb vs. Tail Light Bulb
Brake lights and tail lights serve different functions, although some vehicles use one bulb for both.
A tail light is typically illuminated when the vehicle’s headlights or parking lights are switched on.
A brake light becomes brighter when the brake pedal is pressed.
Some bulbs contain separate circuits or filaments for these functions, which means one portion can fail while the other continues working.
Can a Brake Light Bulb Affect the Turn Signal?
On vehicles that use a combined brake and turn-signal bulb, a bulb problem can affect both functions.
However, modern vehicles may use separate bulbs, LED circuits, or electronically controlled lighting.
If both the brake light and turn signal on one side stop working, inspect the bulb and socket first, then consider the fuse, wiring, or control system if necessary.
How Often Should You Replace Brake Light Bulbs?
There is no universal replacement interval for a conventional brake light bulb.
Replace it when it fails or begins showing signs of a problem.
LED brake lights can last considerably longer than traditional incandescent bulbs, but an integrated LED system can still fail.
Regularly checking your vehicle’s exterior lights is a good maintenance habit.
Should You Replace Both Brake Light Bulbs at the Same Time?
It is not always necessary to replace both bulbs, but replacing them together can be convenient if they are the same age and type.
If one conventional bulb has failed after years of use, the other bulb may also be approaching the end of its service life.
Replacing both can provide consistent brightness and reduce the chance of having to repeat the job soon.
Brake Light Bulb Replacement Safety Tips
Follow these precautions when replacing a brake light bulb:
- Turn the vehicle off before beginning.
- Park securely on a level surface.
- Use the correct replacement bulb.
- Do not force the socket or bulb.
- Avoid touching incandescent bulb glass with bare fingers.
- Keep moisture away from electrical connections.
- Check the light assembly for cracks or water intrusion.
- Test the brake lights before driving.
Never drive normally with a known brake-light failure. Brake lights are an important communication and safety feature.
How to Prevent Brake Light Problems
Regular inspection can help identify lighting problems early.
Check your brake lights periodically, especially before long trips.
Also inspect the rear light assemblies for:
- Cracks
- Moisture
- Corrosion
- Loose connections
- Damaged wiring
- Cloudy or damaged lenses
Keeping the light housing sealed can help protect bulbs and electrical connections from water and contamination.
Frequently Asked Questions
1. How do I replace a brake light bulb?
Access the rear light assembly, remove the old bulb, install the correct replacement bulb, reinstall the socket, and test the brake lights.
2. How much does it cost to replace a brake light bulb?
The cost depends on the vehicle, bulb type, and whether you perform the repair yourself or use a professional. A simple bulb replacement is generally less expensive than repairing an electrical problem or replacing an integrated LED assembly.
3. Can I replace a brake light bulb myself?
Yes. Many vehicles use easily accessible replaceable bulbs that can be changed with basic tools.
4. Why is my brake light still not working after replacing the bulb?
Check the bulb type, socket connection, fuse, wiring, brake-light switch, and ground. The problem may not be the bulb itself.
5. How do I know which brake light bulb to buy?
Check your owner’s manual, existing bulb number, or a reliable vehicle-specific parts catalog using the vehicle’s exact year, make, model, and trim.
6. Why are both brake lights not working?
A blown fuse, faulty brake-light switch, wiring issue, or electrical control problem can cause both brake lights to stop working simultaneously.
7. Do LED brake lights need replacement?
Some vehicles have replaceable LED bulbs, while others use sealed LED light assemblies. If the LED system is integrated, the entire assembly or a specific service component may need to be replaced.
8. Can a brake light and tail light use the same bulb?
Yes, some vehicles use a dual-function bulb for the brake and tail lights, while others use separate bulbs.
Final Thoughts
A brake light bulb replacement is an important part of basic vehicle maintenance. A burned-out bulb can often be replaced quickly, but it is essential to install the correct bulb and verify that the new light works properly.
If a replacement bulb does not solve the problem, investigate the socket, fuse, wiring, brake-light switch, and other electrical components. Vehicles with integrated LED lighting may require a different repair approach. Regularly checking your brake lights is a simple habit that can help keep your vehicle visible to other drivers and ensure an important safety system is functioning correctly.
About the Author